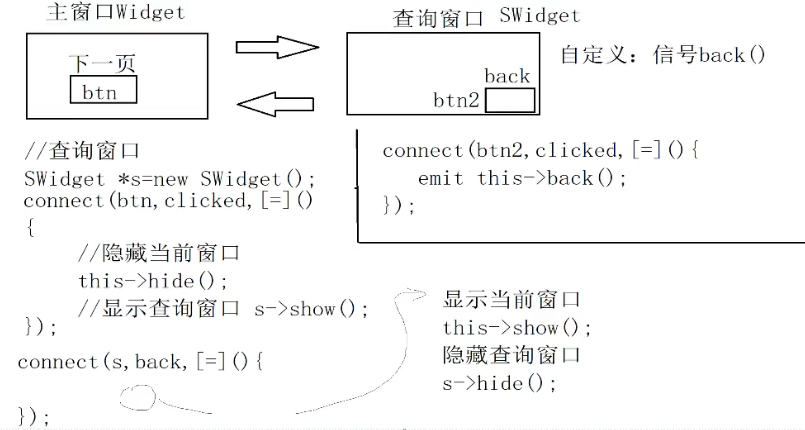
需求:主窗口点击按钮切换查询窗口,点击查询窗口的按钮切换到主窗口。
思路:
案例:
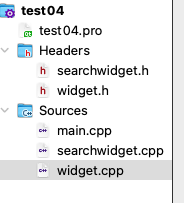
widget.cpp
1 2 3 4 5 6 7 8 9 10 11 12 13 14 15 16 17 18 19 20 21 22 23 24 25 26 27 28 29 30 #include "widget.h" #include <QPushButton> #include "searchwidget.h" Widget::Widget (QWidget *parent) : QWidget (parent) { this ->setWindowTitle ("主窗口" ); this ->resize (450 ,300 ); QPushButton *btn1 = new QPushButton ("切换窗口" ,this ); SearchWidget *sWidget = new SearchWidget (); connect (btn1,&QPushButton::clicked,[=](){ this ->hide (); sWidget->show (); }); connect (sWidget,&SearchWidget::back,[=](){ this ->show (); }); } Widget::~Widget () { }
searchwidget.cpp
1 2 3 4 5 6 7 8 9 10 11 12 13 14 15 16 17 18 #include "searchwidget.h" #include <QPushButton> SearchWidget::SearchWidget (QWidget *parent) : QWidget (parent) { this ->setWindowTitle ("查询窗口" ); this ->resize (450 ,300 ); QPushButton *btn1 = new QPushButton ("切换到主窗口" ,this ); connect (btn1,&QPushButton::clicked,[=](){ this ->hide (); emit this ->back (); }); }
main.cpp
1 2 3 4 5 6 7 8 9 10 11 #include "widget.h" #include <QApplication> int main (int argc, char *argv[]) QApplication a (argc, argv) ; Widget w; w.show (); return a.exec (); }
widget.h
1 2 3 4 5 6 7 8 9 10 11 12 13 14 #ifndef WIDGET_H #define WIDGET_H #include <QWidget> class Widget :public QWidget{ Q_OBJECT public : Widget (QWidget *parent = nullptr ); ~Widget (); }; #endif
searchwidget.h
1 2 3 4 5 6 7 8 9 10 11 12 13 14 15 16 17 #ifndef SEARCHWIDGET_H #define SEARCHWIDGET_H #include <QWidget> class SearchWidget :public QWidget{ Q_OBJECT public : explicit SearchWidget (QWidget *parent = nullptr ) signals: void back () }; #endif
运行结果:
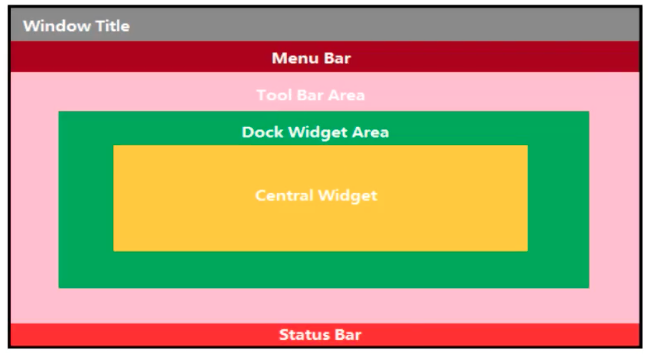
QMainWindow是一个用户提供主窗口程序的类,包含一个菜单栏(menu bar)、多个工具栏(tool bars)、多个铆接部件(dock widgets)、一个状态栏(status bar)及一个中心部件(central widget),许多应用程序的基础,如文本编辑器,图片编辑器等。
一个主窗口最多只能有一个菜单栏。位于主窗口顶部或主窗口标题栏下面。
创建菜单栏
通过QMainWindow类的menubar()函数获取菜单栏指针
QMenuBar *menuBar() const
创建菜单
调用Qmenu的成员函数addMenu来添加菜单
QAction *addMenu(QMenu *menu)
QMenu *addMenu(const QString &title)
QMenu *addMenu(const QIcon &icon,const QString &title)
创建菜单项
调用QMenu的成员函数addAction来添加菜单项
QAction *addAction() const
QAction *addAction(const QString &text)
QAction *addAction(const QIcon &icon,const QString &text)
QAction *addAction(const QString &text,const QObject *receiver,const char *member,const QKeySequence &shortcut=0)
QAction *addAction(const QIcon &icon,const QString &text,cosnt QObject *receiver,const *member)
QAction *addAction
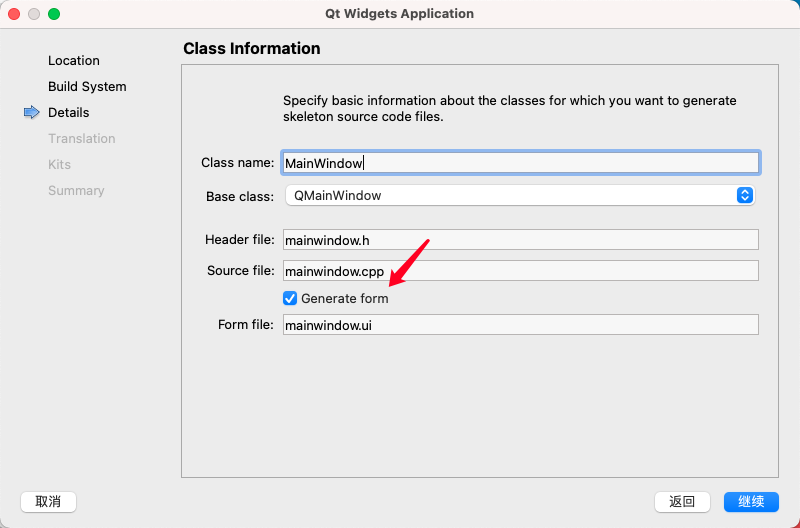
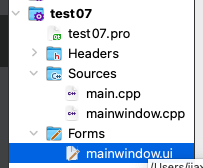
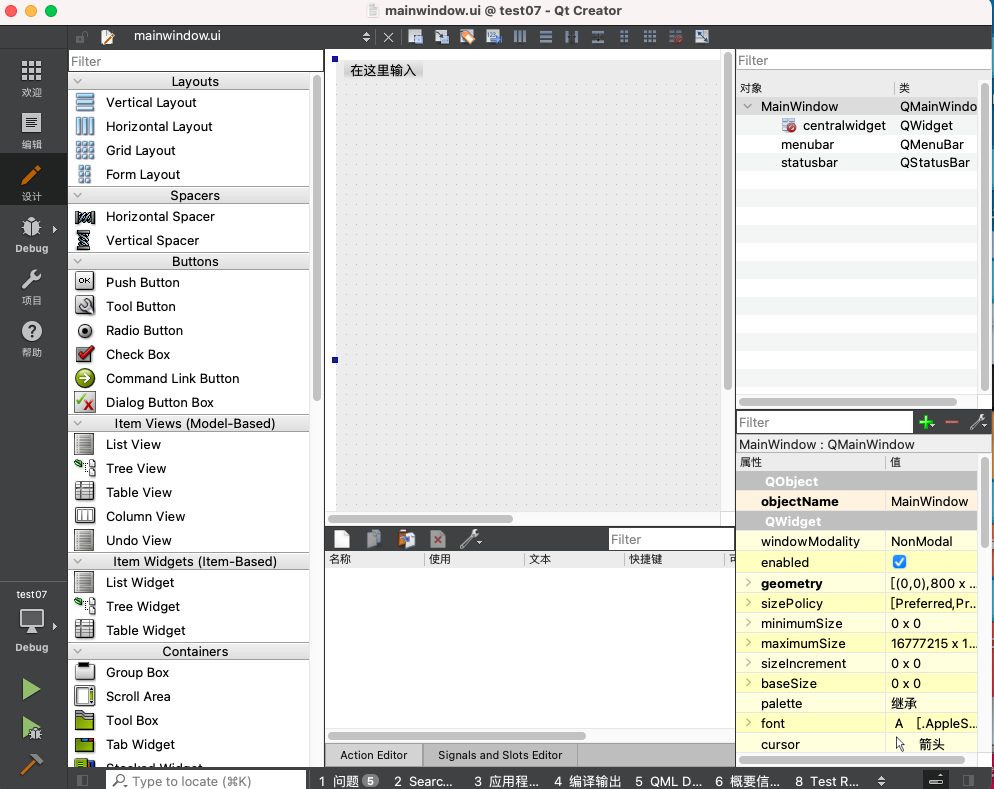
案例:
mainwindow.cpp
1 2 3 4 5 6 7 8 9 10 11 12 13 14 15 16 17 18 19 20 21 22 23 24 25 26 27 28 29 30 31 32 33 34 35 36 37 38 39 40 41 42 43 44 45 46 47 #include "mainwindow.h" #include <QMenuBar> #include <QDebug> MainWindow::MainWindow (QWidget *parent) : QMainWindow (parent) { this ->setWindowTitle ("QMianWindow" ); this ->resize (450 ,300 ); QMenuBar *menuBar = new QMenuBar (this ); this ->setMenuBar (menuBar); QMenu *file = new QMenu ("文件" ,this ); QMenu *edit = new QMenu ("编辑" ,this ); menuBar->addMenu (file); menuBar->addMenu (edit); QAction *New = new QAction ("新建" ,this ); QAction *Save = new QAction ("保存" ,this ); file->addAction (New); file->addSeparator (); file->addAction (Save); edit->addAction ("复制" ); edit->addAction ("粘贴" ); New->setShortcut (QKeySequence (tr ("Ctrl+N" ))); connect (New,&QAction::triggered,[=](){ qDebug ()<<"新建了一个文件" ; }); } MainWindow::~MainWindow () { }
运行结果:
主窗口的工具栏上可以有多个工具条,通常采用一个菜单对应一个工具条的方式,也可根据需要进行工具条的划分。
直接调用QMainWindow类的addToolBar()函数获取主窗口的工具条对象,每增加一个工具条都需要调用一次该函数
插入属于工具条的动作,即在工具条上添加操作
通过QToolBar里的addAction函数添加
工具条是一个可移动的窗口,它的停靠区域由QToolBar的allowAreas决定
Qt::LeftToolBarArea 停靠在左侧
Qt::RightToolBarArea 停靠在右侧
Qt::TopToolBarArea 停靠在顶部
Qt::BottomToolBarArea 停靠在底部
Qt::AllToolBarArea 以上四个位置都可停靠
1 2 3 4 setAllowedAreas (Qt::LeftToolBarArea | Qt::RightToolBarArea);setMoveable (false );
案例:
mainwindow.cpp
1 2 3 4 5 6 7 8 9 10 11 12 13 14 15 16 17 18 19 20 21 22 23 24 25 26 27 28 29 30 31 32 33 34 35 36 37 38 39 40 41 42 43 44 45 46 47 48 49 50 51 52 53 54 55 56 57 58 59 #include "mainwindow.h" #include <QMenuBar> #include <QDebug> #include <QToolBar> MainWindow::MainWindow (QWidget *parent) : QMainWindow (parent) { this ->setWindowTitle ("QMianWindow" ); this ->resize (450 ,300 ); QMenuBar *menuBar = new QMenuBar (this ); this ->setMenuBar (menuBar); QMenu *file = new QMenu ("文件" ,this ); QMenu *edit = new QMenu ("编辑" ,this ); menuBar->addMenu (file); menuBar->addMenu (edit); QAction *New = new QAction ("新建" ,this ); QAction *Save = new QAction ("保存" ,this ); file->addAction (New); file->addSeparator (); file->addAction (Save); edit->addAction ("复制" ); edit->addAction ("粘贴" ); New->setShortcut (QKeySequence (tr ("Ctrl+N" ))); connect (New,&QAction::triggered,[=](){ qDebug ()<<"新建了一个文件" ; }); QToolBar *tool1 = new QToolBar ("工具栏标题" ,this ); this ->addToolBar (tool1); tool1->addAction (New); tool1->addAction (Save); tool1->setFloatable (false ); tool1->setAllowedAreas (Qt::LeftToolBarArea | Qt::RightToolBarArea); } MainWindow::~MainWindow () { }
运行结果:
派生自QWidget类,使用方法与QWidget类似
状态栏也最多只能有一个
1 2 3 4 5 6 void addWidget (QWidget *widget,int stretch=0 ) int insertWidget (int index,QWidget *widget,int stretch=0 ) void removeWidget (QWidget *widget)
案例:
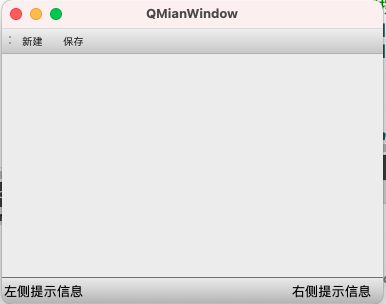
mainwindow.cpp
1 2 3 4 5 6 7 8 9 10 11 12 13 14 15 16 17 18 19 20 21 22 23 24 25 26 27 28 29 30 31 32 33 34 35 36 37 38 39 40 41 42 43 44 45 46 47 48 49 50 51 52 53 54 55 56 57 58 59 60 61 62 63 64 65 66 67 68 69 70 71 72 73 #include "mainwindow.h" #include <QMenuBar> #include <QDebug> #include <QToolBar> #include <QStatusBar> #include <QLabel> MainWindow::MainWindow (QWidget *parent) : QMainWindow (parent) { this ->setWindowTitle ("QMianWindow" ); this ->resize (450 ,300 ); QMenuBar *menuBar = new QMenuBar (this ); this ->setMenuBar (menuBar); QMenu *file = new QMenu ("文件" ,this ); QMenu *edit = new QMenu ("编辑" ,this ); menuBar->addMenu (file); menuBar->addMenu (edit); QAction *New = new QAction ("新建" ,this ); QAction *Save = new QAction ("保存" ,this ); file->addAction (New); file->addSeparator (); file->addAction (Save); edit->addAction ("复制" ); edit->addAction ("粘贴" ); New->setShortcut (QKeySequence (tr ("Ctrl+N" ))); connect (New,&QAction::triggered,[=](){ qDebug ()<<"新建了一个文件" ; }); QToolBar *tool1 = new QToolBar ("工具栏标题" ,this ); this ->addToolBar (tool1); tool1->addAction (New); tool1->addAction (Save); tool1->setFloatable (false ); tool1->setAllowedAreas (Qt::LeftToolBarArea | Qt::RightToolBarArea); QStatusBar *status = new QStatusBar (this ); this ->setStatusBar (status); QLabel *label1 = new QLabel ("左侧提示信息" ,this ); QLabel *label2 = new QLabel ("右侧提示信息" ,this ); status->addWidget (label1); status->addPermanentWidget (label2); } MainWindow::~MainWindow () { }
运行结果:
铆接部件,QDockWidget,也称浮动窗口,可以有多个。
除了以上几个部件,中心显示的部件都可以作为核心部件,例如一个记事本文件,可以利用QTextEdit做核心部件
案例:
mainwindow.cpp
1 2 3 4 5 6 7 8 9 10 11 12 13 14 15 16 17 18 19 20 21 22 23 24 25 26 27 28 29 30 31 32 33 34 35 36 37 38 39 40 41 42 43 44 45 46 47 48 49 50 51 52 53 54 55 56 57 58 59 60 61 62 63 64 65 66 67 68 69 70 71 72 73 74 75 76 77 78 79 80 81 82 83 84 85 86 87 #include "mainwindow.h" #include <QMenuBar> #include <QDebug> #include <QToolBar> #include <QStatusBar> #include <QLabel> #include <QDockWidget> #include <QTextEdit> MainWindow::MainWindow (QWidget *parent) : QMainWindow (parent) { this ->setWindowTitle ("QMianWindow" ); this ->resize (450 ,300 ); QMenuBar *menuBar = new QMenuBar (this ); this ->setMenuBar (menuBar); QMenu *file = new QMenu ("文件" ,this ); QMenu *edit = new QMenu ("编辑" ,this ); menuBar->addMenu (file); menuBar->addMenu (edit); QAction *New = new QAction ("新建" ,this ); QAction *Save = new QAction ("保存" ,this ); file->addAction (New); file->addSeparator (); file->addAction (Save); edit->addAction ("复制" ); edit->addAction ("粘贴" ); New->setShortcut (QKeySequence (tr ("Ctrl+N" ))); connect (New,&QAction::triggered,[=](){ qDebug ()<<"新建了一个文件" ; }); QToolBar *tool1 = new QToolBar ("工具栏标题" ,this ); this ->addToolBar (tool1); tool1->addAction (New); tool1->addAction (Save); tool1->setFloatable (false ); tool1->setAllowedAreas (Qt::LeftToolBarArea | Qt::RightToolBarArea); QStatusBar *status = new QStatusBar (this ); this ->setStatusBar (status); QLabel *label1 = new QLabel ("左侧提示信息" ,this ); QLabel *label2 = new QLabel ("右侧提示信息" ,this ); status->addWidget (label1); status->addPermanentWidget (label2); QDockWidget *dock = new QDockWidget ("铆接部件" ,this ); this ->addDockWidget (Qt::RightDockWidgetArea,dock); dock->setAllowedAreas (Qt::LeftDockWidgetArea|Qt::RightDockWidgetArea); QTextEdit *textEdit = new QTextEdit ("测试文字测试文字\n测试文字测试文字" ,this ); this ->setCentralWidget (textEdit); } MainWindow::~MainWindow () { }
运行结果:
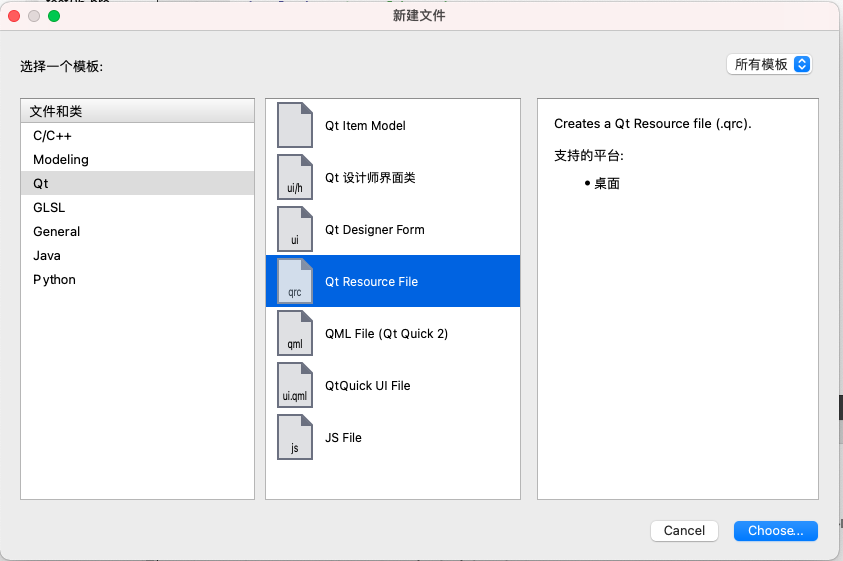
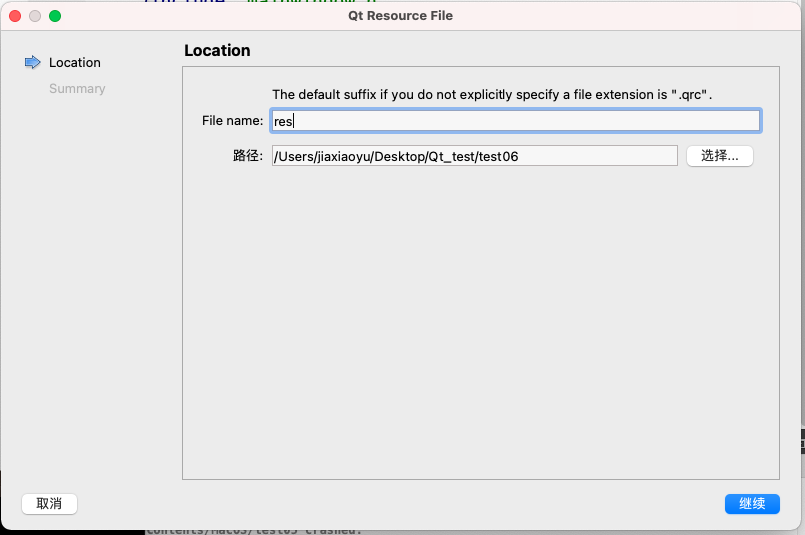
Qt资源系统是一个跨平台的资源机制,用于将程序运行时所需要的资源以二进制的形式存储于可执行文件内部。如果你的程序需要加载特定的资源(图标、文本翻译等等),那么,将其放置在资源文件中,就再也不需要担心这些文件的丢失。也就是说,如果你将资源以资源文件形式存储,它是会编译到可执行文件内部的。使用Qt Creator可以很方便地创建资源文件。如下:
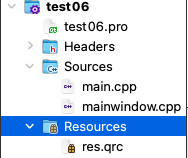
将资源放入工程中(建议)
添加资源文件(右击工程)
为资源文件添加资源
对话框是GUI程序中不可或缺的组成部分。很多不能或者不合适放入主窗口的功能组件都必须放在对话框中设置。对话框通常会是一个顶层窗口,出现在程序最上层,用于实现短期任务或者简洁的用户交互。
Qt中使用QDialog类实现对话框。就像主窗口一样,我们通常会设计一个类继承QDialog。QDialog(及其子类,以及所有Qt::Dialog类型的类)的对于其parent指针有额外的解释:如果parent为NULL,则对话框会作为一个顶层窗口,否则则作为其父组件的子对话框(此时,其默认出现的位置parent的中心)。 顶层窗口与非顶层窗口的区别在于,顶层窗口在任务栏会有自己的位置,而非顶层窗口则会共享其父组件的位置。
对话框分为模态对话框和非模态对话框:
模态对话框,就是会阻塞同一应用程序中其他窗口的输入。
模态对话框很常见,比如”打开文件”功能。当打开文件对话框出现时,我们是不能对除此对话框之外的窗口部分进行操作的。
非模态对话框,不带阻塞。例如查找对话框,我们可以在显示着查找对话框的同时,继续对记事本的内容进行编辑。
案例:模态对话框与非模态对话框
mainwindow.cpp
1 2 3 4 5 6 7 8 9 10 11 12 13 14 15 16 17 18 19 20 21 22 #include "mainwindow.h" #include <QDialog> MainWindow::MainWindow (QWidget *parent) : QMainWindow (parent) { this ->setWindowTitle ("主窗口" ); QDialog *dlg = new QDialog (this ); dlg->setWindowTitle ("模态对话框" ); dlg->resize (300 ,200 ); dlg->exec (); QDialog *dlg1 = new QDialog (this ); dlg1->setWindowTitle ("非模态对话框" ); dlg1->resize (300 ,200 ); dlg->show (); } MainWindow::~MainWindow () { }
运行结果:
所谓标准对话框,是Qt内置的一系列对话框,用于简化开发。事实上,有很多对话框都是通用的,比如打开文件、设置颜色、打印设置等。这些对话框在所有程序中几乎相同,因此没有必要再每一个程序中都自己实现这么一个对话框。
Qt的内置对话框大致分为以下几类:
QColorDialog 选择颜色
QFileDialog 选择文件或目录
QFontDialog 选择字体
QInputDialog 允许用户输入一个值,并将值返回
QMessageBox 模态对话框,用于显示信息、询问问题等
QPageSetupDialog 为打印机提供纸张的相关选项
QPrintDialog 打印机配置
QPrintPreviewDialog 打印预览
QProgressDialog 显示操作过程
Qt支持模态对话框和非模态对话框。
模态与非模态的实现:
使用QDialog::exec() 实现应用程序级别的模态对话框
使用QDialog::open() 实现窗口级别的模态对话框
使用QDialog::show() 实现非模态对话框
Qt有两种级别的模态对话框:
一般默认是应用程序级别的模态
1
2
3
4
QDialog *dlg = new QDialog (this ); dlg->setWindowTitle ("模态对话框" ); dlg->resize (300 ,200 ); dlg->exec ();
在上面的实例中,我们调用了exec()将对话框显示出来,因此这就是一个模态对话框。当对话框出现时,我们不能与主窗口进行任何交互,直到我们关闭了该对话框。
下面我们试着将exec()修改为show(),看看非模态对话框:
1
2
3
4
QDialog dlg1 = QDialog (this ); dlg1.setWindowTitle ("非模态对话框" ); dlg1.resize (300 ,200 ); dlg1.show ();
是不是事与愿违?对话框竟然一闪而过,甚至看不到!这是因为,show()函数不会阻塞当前线程,对话框会显示出来,然后函数立即返回,代码继续执行。注意,Dialog是建立在栈上的,show函数返回,MainWindow::open()函数结束,Dialog超出作用于被析构,因此对话框消失了。知道原因就好改了,我们将Dialog改成堆上建立的就没有这个一闪而过的问题了:
1
2
3
4
QDialog *dlg = new QDialog (this ); dlg->setWindowTitle ("非模态对话框" ); dlg->resize (300 ,200 ); dlg->show ();
但是上面代码是有问题的,仔细观察可以发现:Dialog存在内存泄漏,Dialog使用new在堆上分配空间,却一直没有delete。解决方案也很简单:将MainWIndow的指针赋给Dialog即可。当MainWindow释放时,Dialog也会释放(见上一篇文章中的对象模型或对象树)。
不过,这样做有一个问题:如果我们的对话框不是在一个界面类中出现呢?由于QWidget的parent必须是QWidget指针,那就限制了我们不能讲一个普通C++类指针传给Qt对话框。另外,如果内存占用有严格限制的话,当我们将主窗口作为parent时,主窗口不关闭,对话框就不会被销毁,所以会一直占用内存。在这种情景下,我们可以设置Dialog的WindowAttribute:
1
2
3
4
5
QDialog *dlg = new QDialog; dlg->setAttribute (Qt::WA_DeleteOnClose); dlg->setWindowTitle ("非模态对话框" ); dlg->resize (300 ,200 ); dlg->show ();
setAttribute()函数设置当对话框关闭时,自动释放对话框
QMessageBox用于显示消息提示。我们一般会使用其提供的几个static函数:
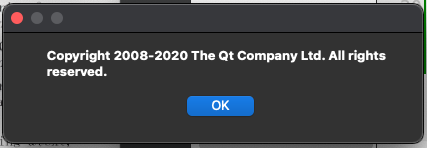
关于对话框
1 2 3 QMessageBox::about (this ,"关于" ,"Copyright 2008-2020 The Qt Company Ltd. All rights reserved." );
运行结果:
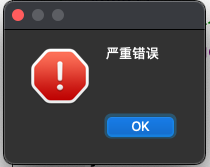
错误提示框
1 2 QMessageBox::critical (this ,"错误" ,"严重错误" );
运行结果:
信息提示框
1 2 QMessageBox::information (this ,"信息" ,"提示信息" );
运行结果:
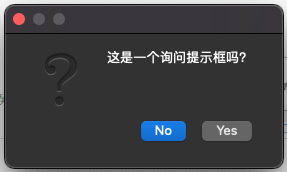
询问提示框
1 2 QMessageBox::question (this ,"问题" ,"这是一个询问提示框吗?" );
运行结果:
QMessage类的static函数优点是方便使用,缺点也很明显,非常的不灵活,我们只能使用简单的几种形式,为了能够定义QMessageBox细节,我们必须使用QMessageBox的属性设置API。
QFontDialog
案例:
1 2 3 4 5 6 7 bool yes;QFont font; font = QFontDialog::getFont (&yes,QFont ("SimSong" ),this ,"字体选择框" ); if (yes == true ){ qDebug ()<<"字体为:" <<font.family ()<<"字体大小为:" <<font.pointSize (); }
运行结果:
QColorDialog
案例:
1 2 3 4 QColor color; color = QColorDialog::getColor (); qDebug ()<<"r=" <<color.red ()<<"g=" <<color.green ()<<"b=" <<color.blue ();
运行结果:
QFileDialog,也就是文件对话框。
案例:
1 2 3 4 QString filePath; filePath = QFileDialog::getOpenFileName (); qDebug ()<<filePath;
运行结果:
C++11中的lambda表达式用于定义并创建匿名的函数对象,以简化编程工作。
首先看一下lambda表达式的基本构成:
1 2 3 4 [capture](parameters)mutable ->return -type { statement }
[函数对象参数](操作符重载函数参数)mutable->返回值{函数体}
函数对象参数:
[],标识一个lambda的开始,这部分必须存在,不能省略。函数对象参数是传递给编译器自动生成的函数对象类构造函数的。函数对象参数只能使用那些定义lambda为止时lambda所在作用范围内可见的局部变量(包括lambda所在类的this)。
函数对象参数有以下形式:
空,没有使用任何函数对象参数。
=,函数体内可以使用lambda所在作用范围内所有可见的局部变量(包括lambda所在类的this),并且是值传递方式(相当于编译器自动为我们按值传递了所有局部变量)
&,函数体内可以使用lambda所在作用范围内所有可见的局部变量(包括lambda所在类的this),并且是引用传递方式(相当于编译器自动为我们按引用传递了所有局部变量)
this,函数体内可以使用lambda所在类中的成员变量
a,将a按值进行传递。按值进行传递时,函数体不能修改传递进来的a的拷贝,因为默认情况下函数是const的。要修改传递进来的a的拷贝,可以添加mutable修饰符
&a,将a按引用进行传递
a,&b。将a按值进行传递,b按引用进行传递
=,&a,&b。除a和b按引用进行传递外,其他参数都按值进行传递
&,a,b。除a和b按值进行传递外,其他参数都按引用进行传递
操作符重载函数参数
标识重载()操作符的参数,没有参数时,这部分可以省略。参数可以通过按值,如:(a,b)和按引用,如:(&a,&b)两种方式进行传递。
可修改标识符
mutable声明,这部分可以省略。按值传递函数对象参数时,加上mutable修饰符后,可以修改按值传递进来的拷贝(注意,是只能修改拷贝,而不是值本身)
函数返回值
->返回值类型,标识函数返回值类型,当返回值类型为void或者函数体中只有一处return的地方(此时编译器可以自动推断出返回值类型)时,这部分可以省略。
函数体
{},标识函数的实现,这部分不能省略,但函数体可以为空